Bus Reno – 3
In 2014 we bought a bus, renovated it and then lived in it for nearly 3 years. I have re-created this Bus Reno series from a previous website I closed.
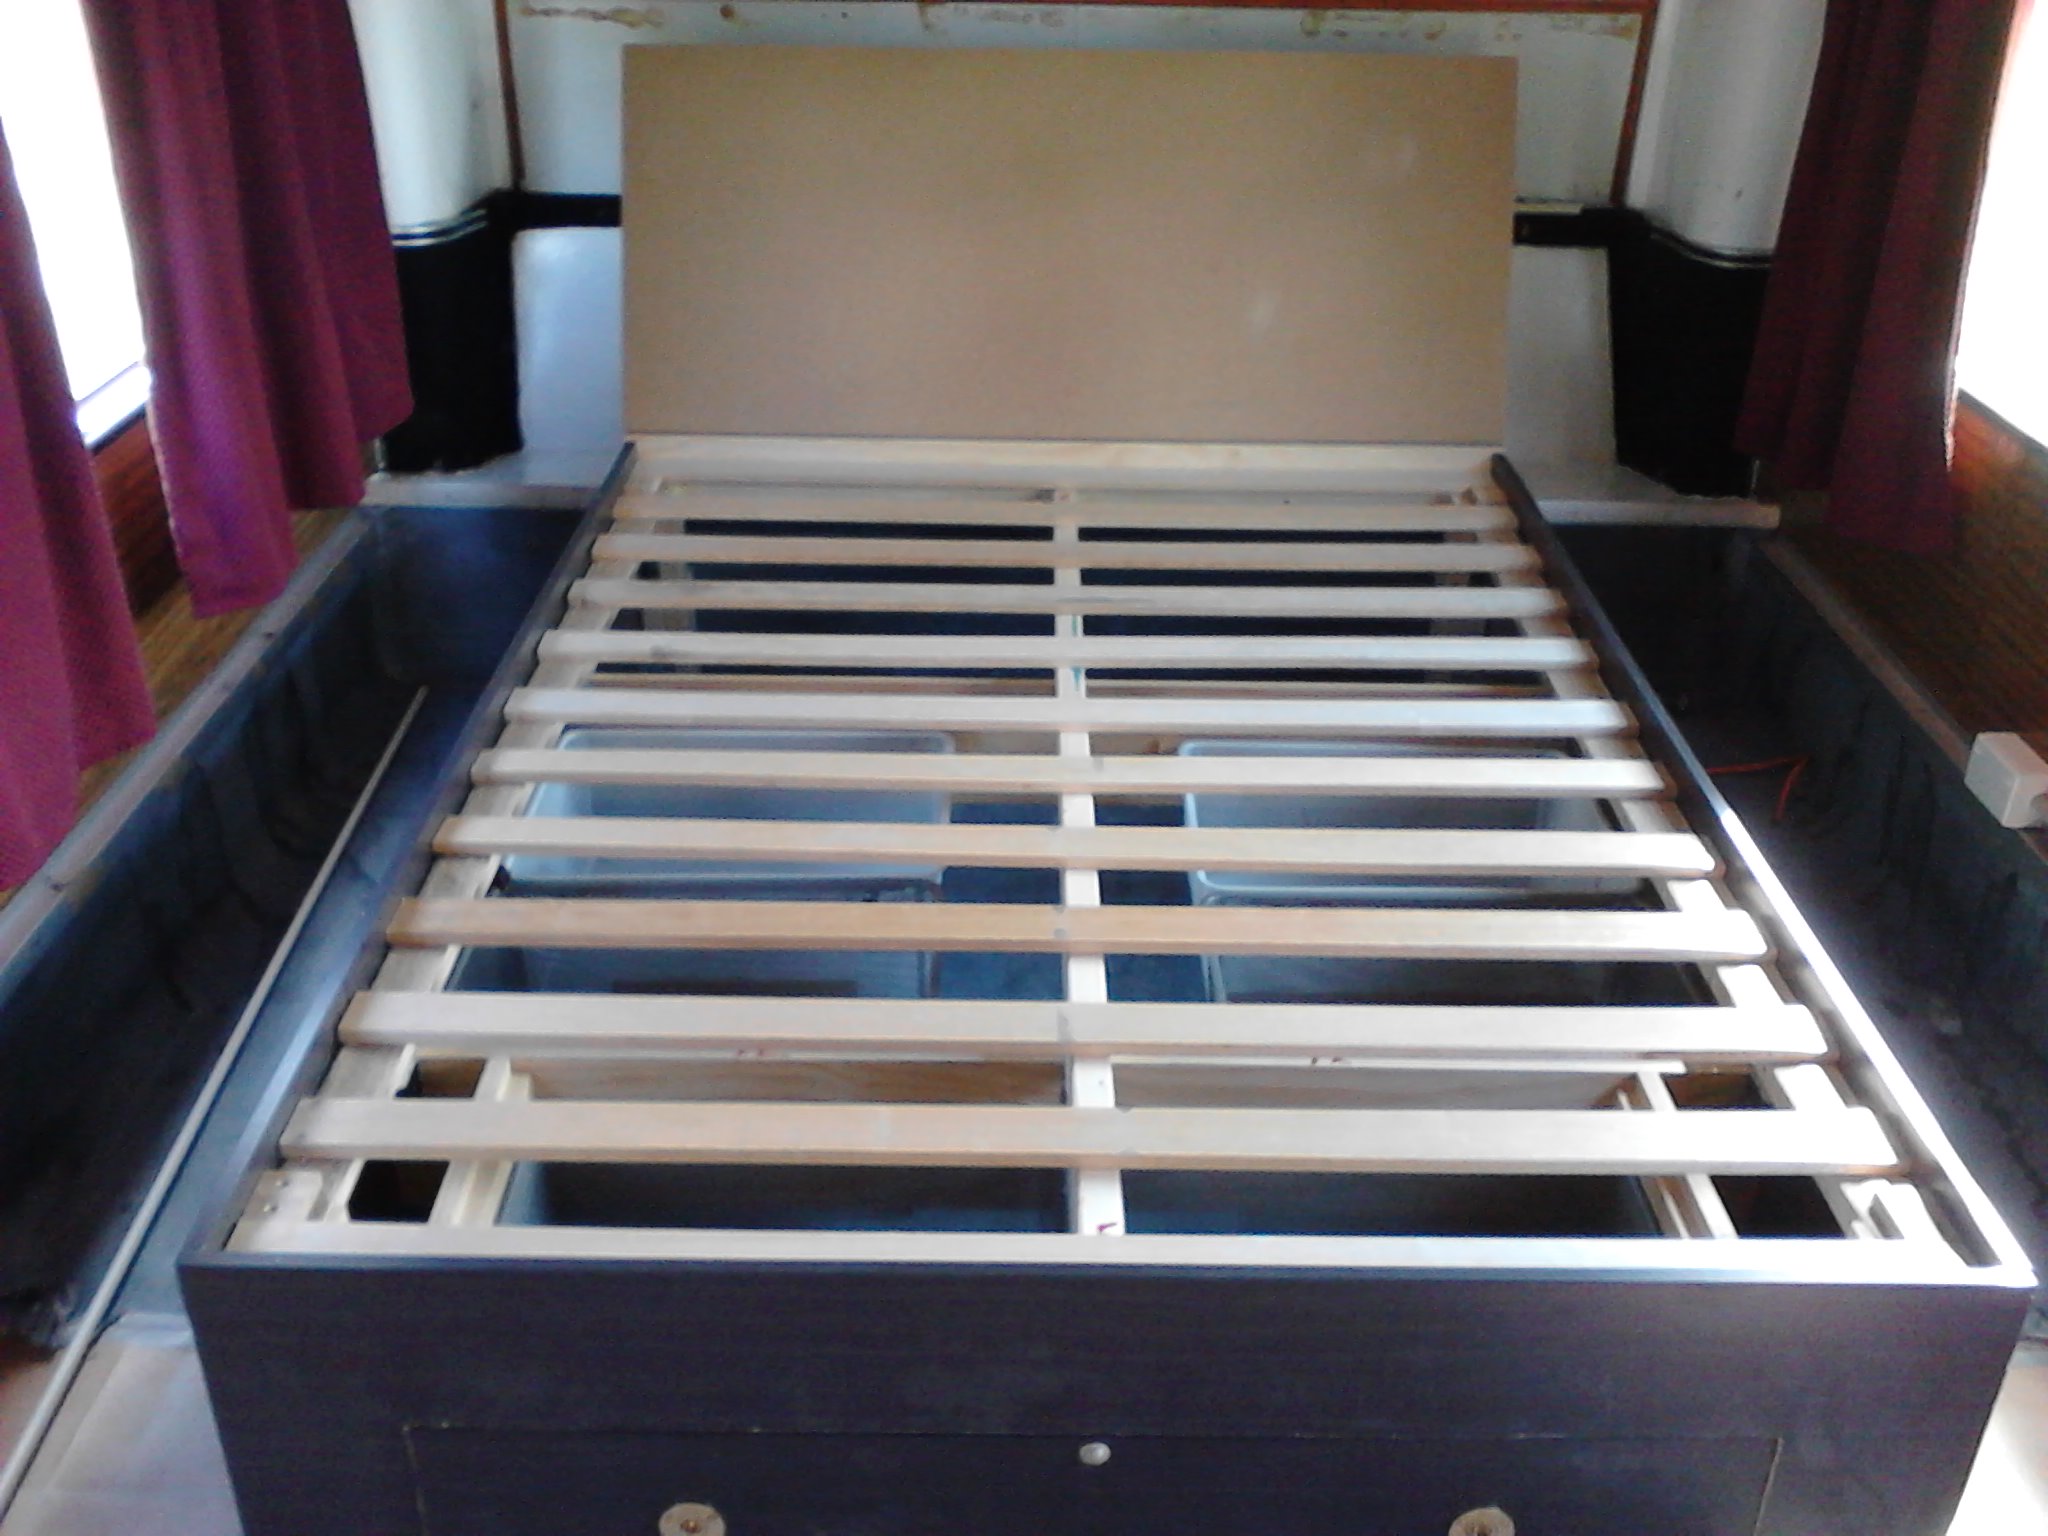
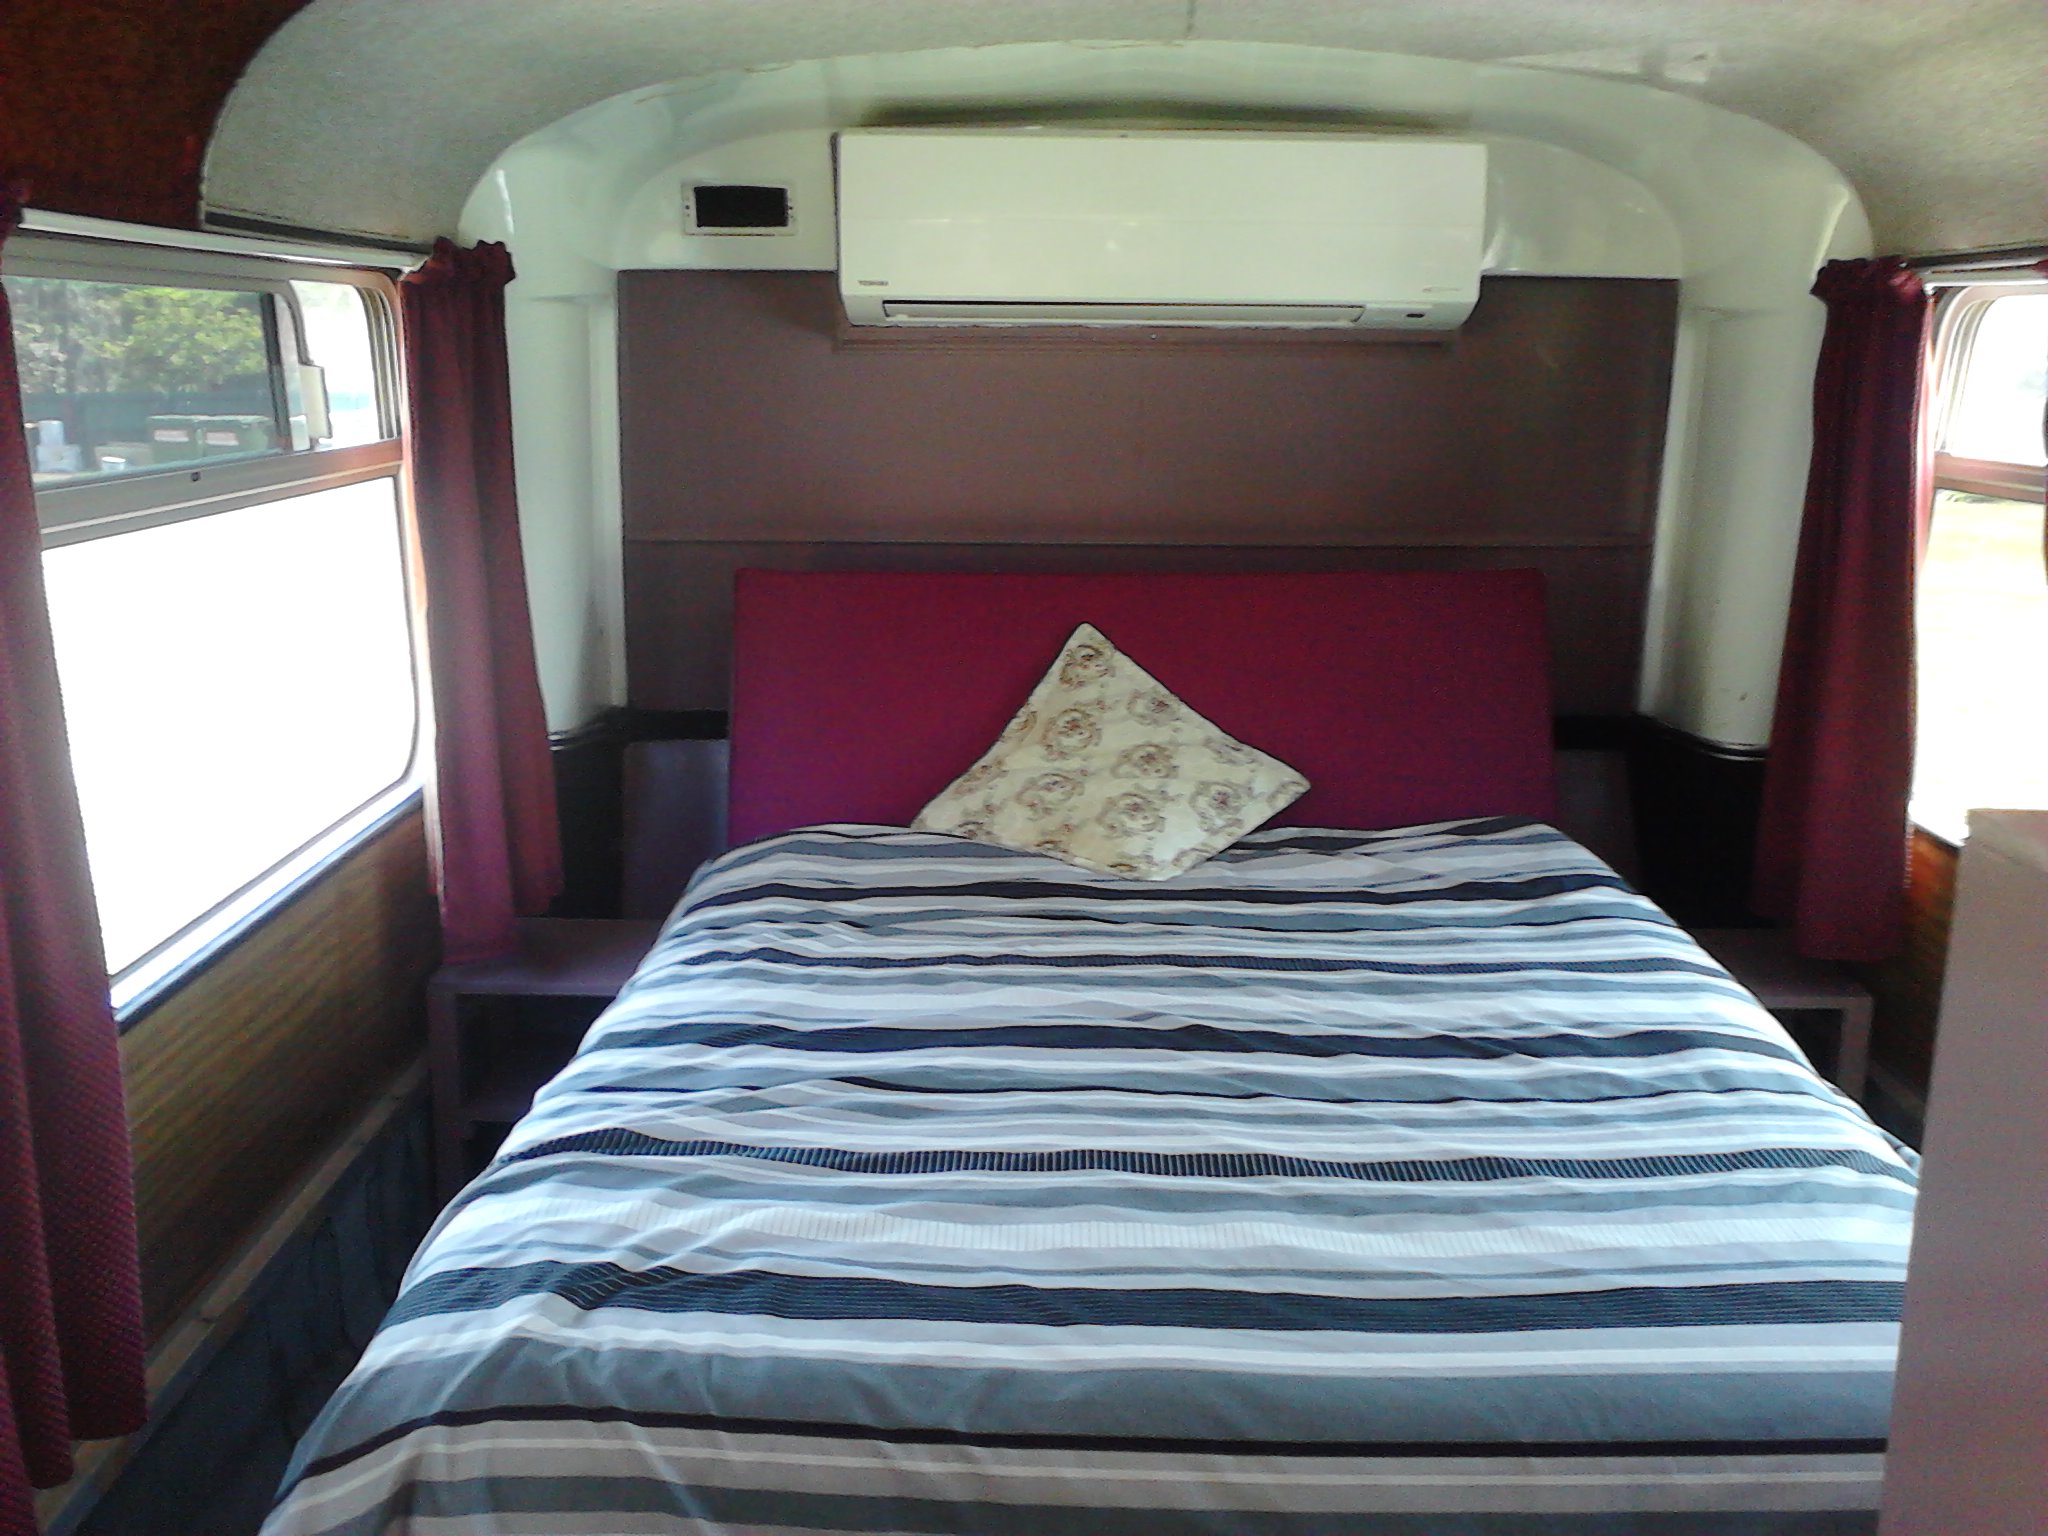
Our bedroom is at the back of the bus. We decided to go with the bed long ways so we had walking areas each side. Making the bed is a lot easier. We also decided to make a fixed base so that if we did move the bus we wouldn’t have to worry about securing the bed. All the furniture is fixed in place. Re-arranging is doable but a hassle.
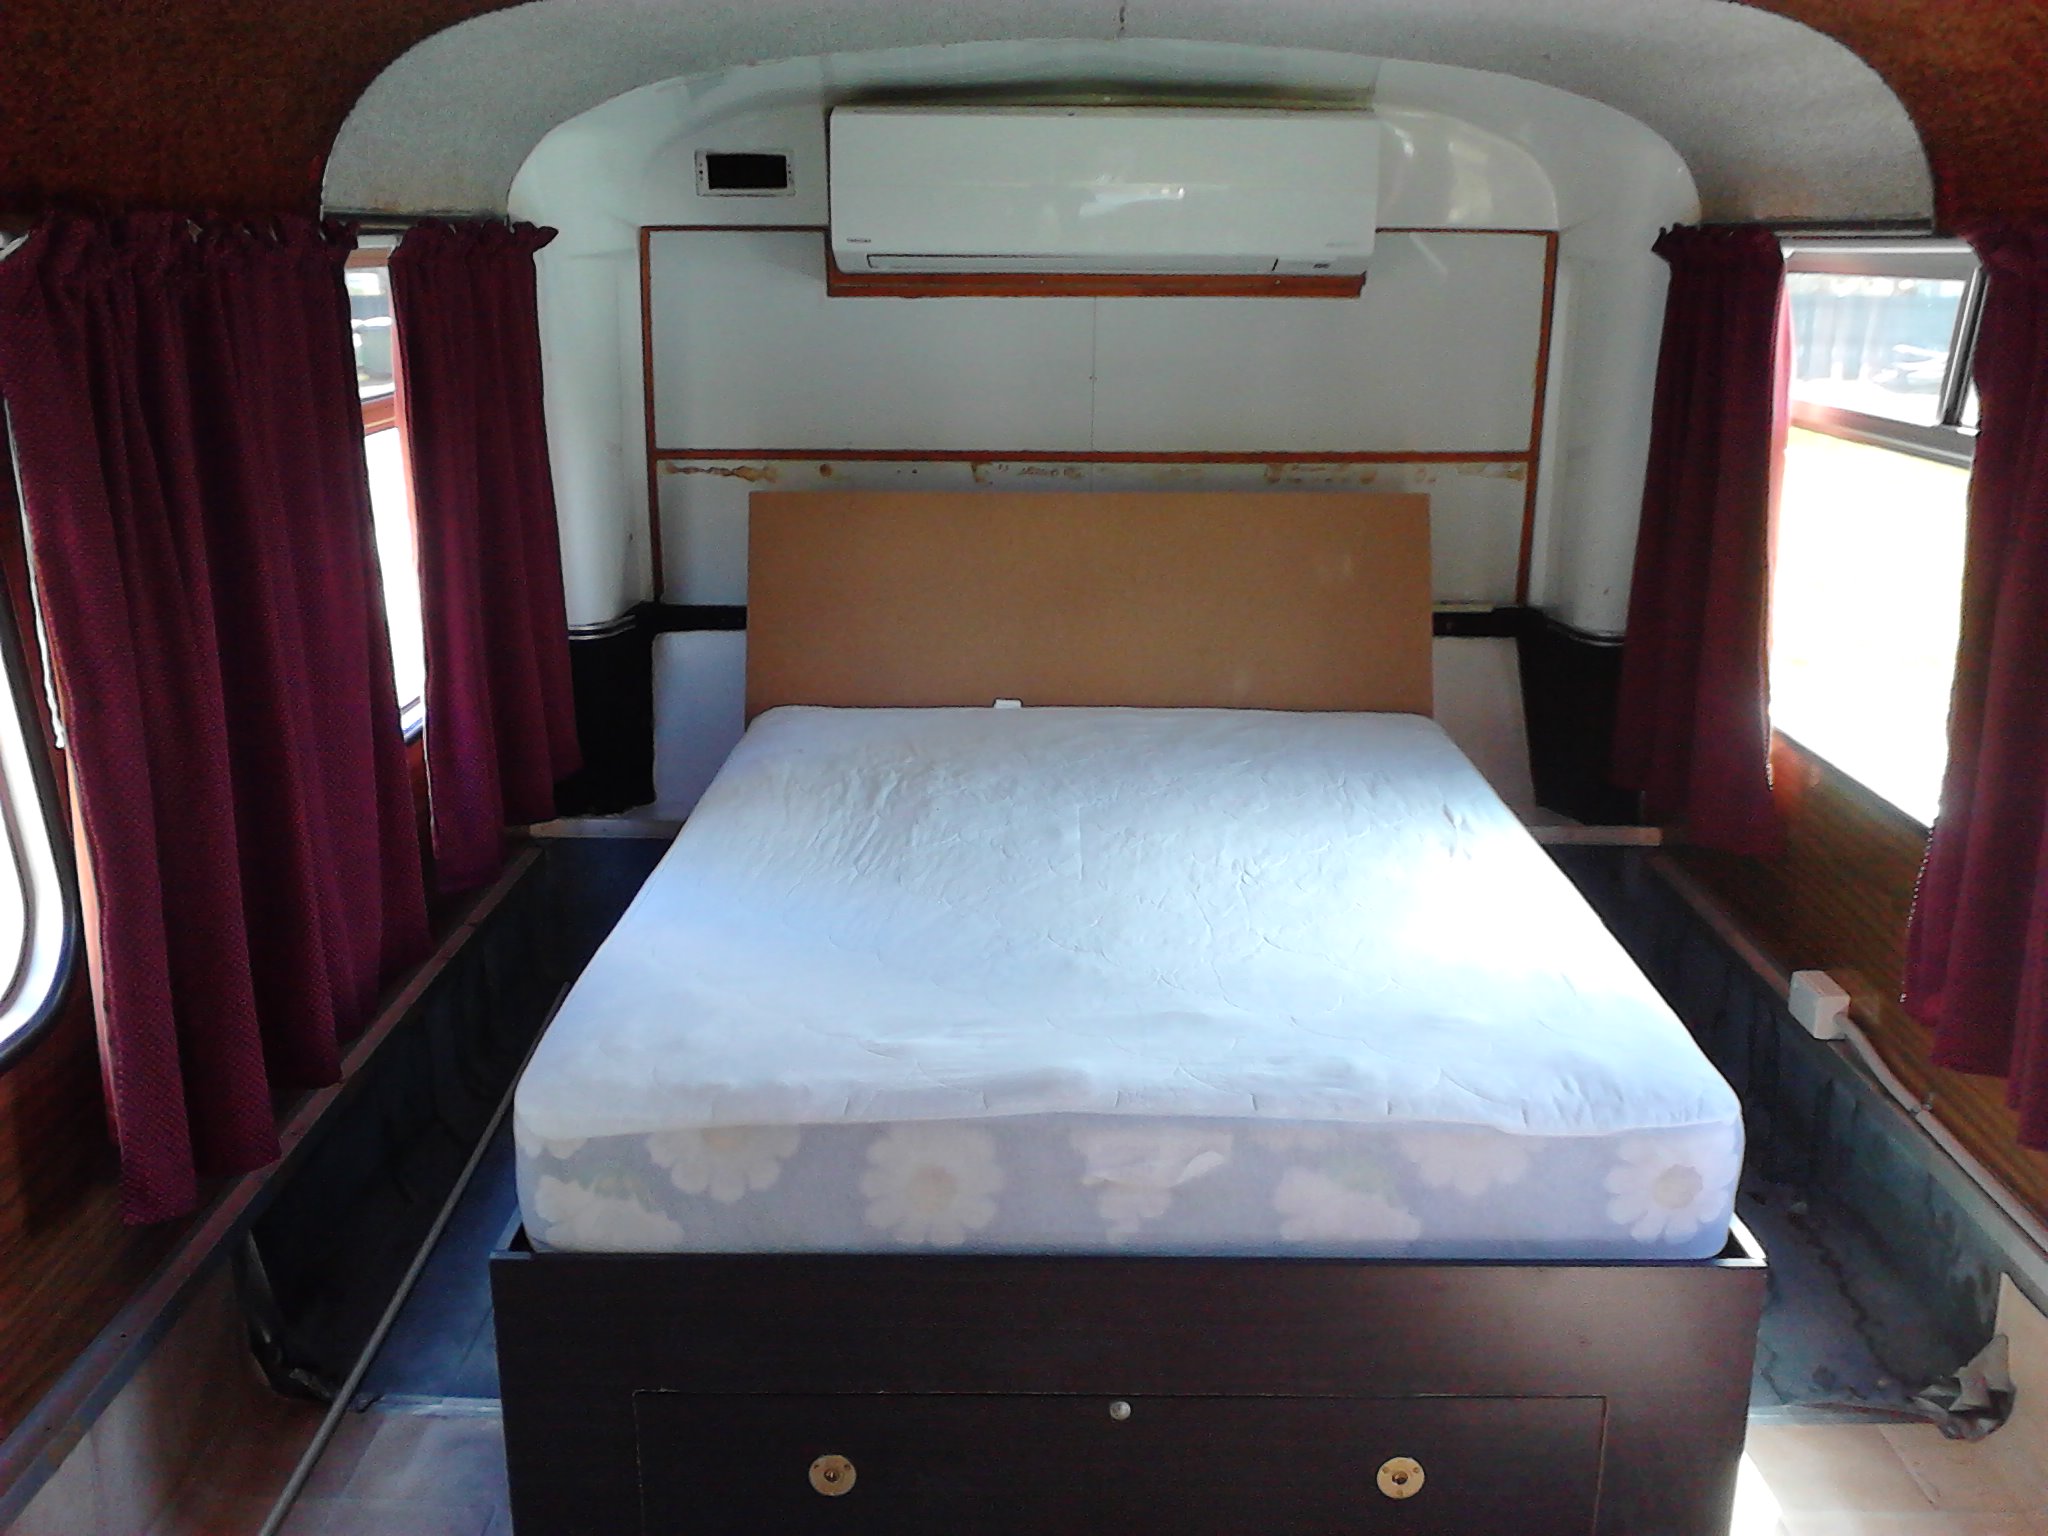
Hubby has done a wonderful job building our bed. It is sleek so as to afford us the largest possible amount of walking space. The bed is a double which is cosy!!
The base has draws on each side which I use for stuff we don’t use daily. Spare sheets, towels. That sort of thing.
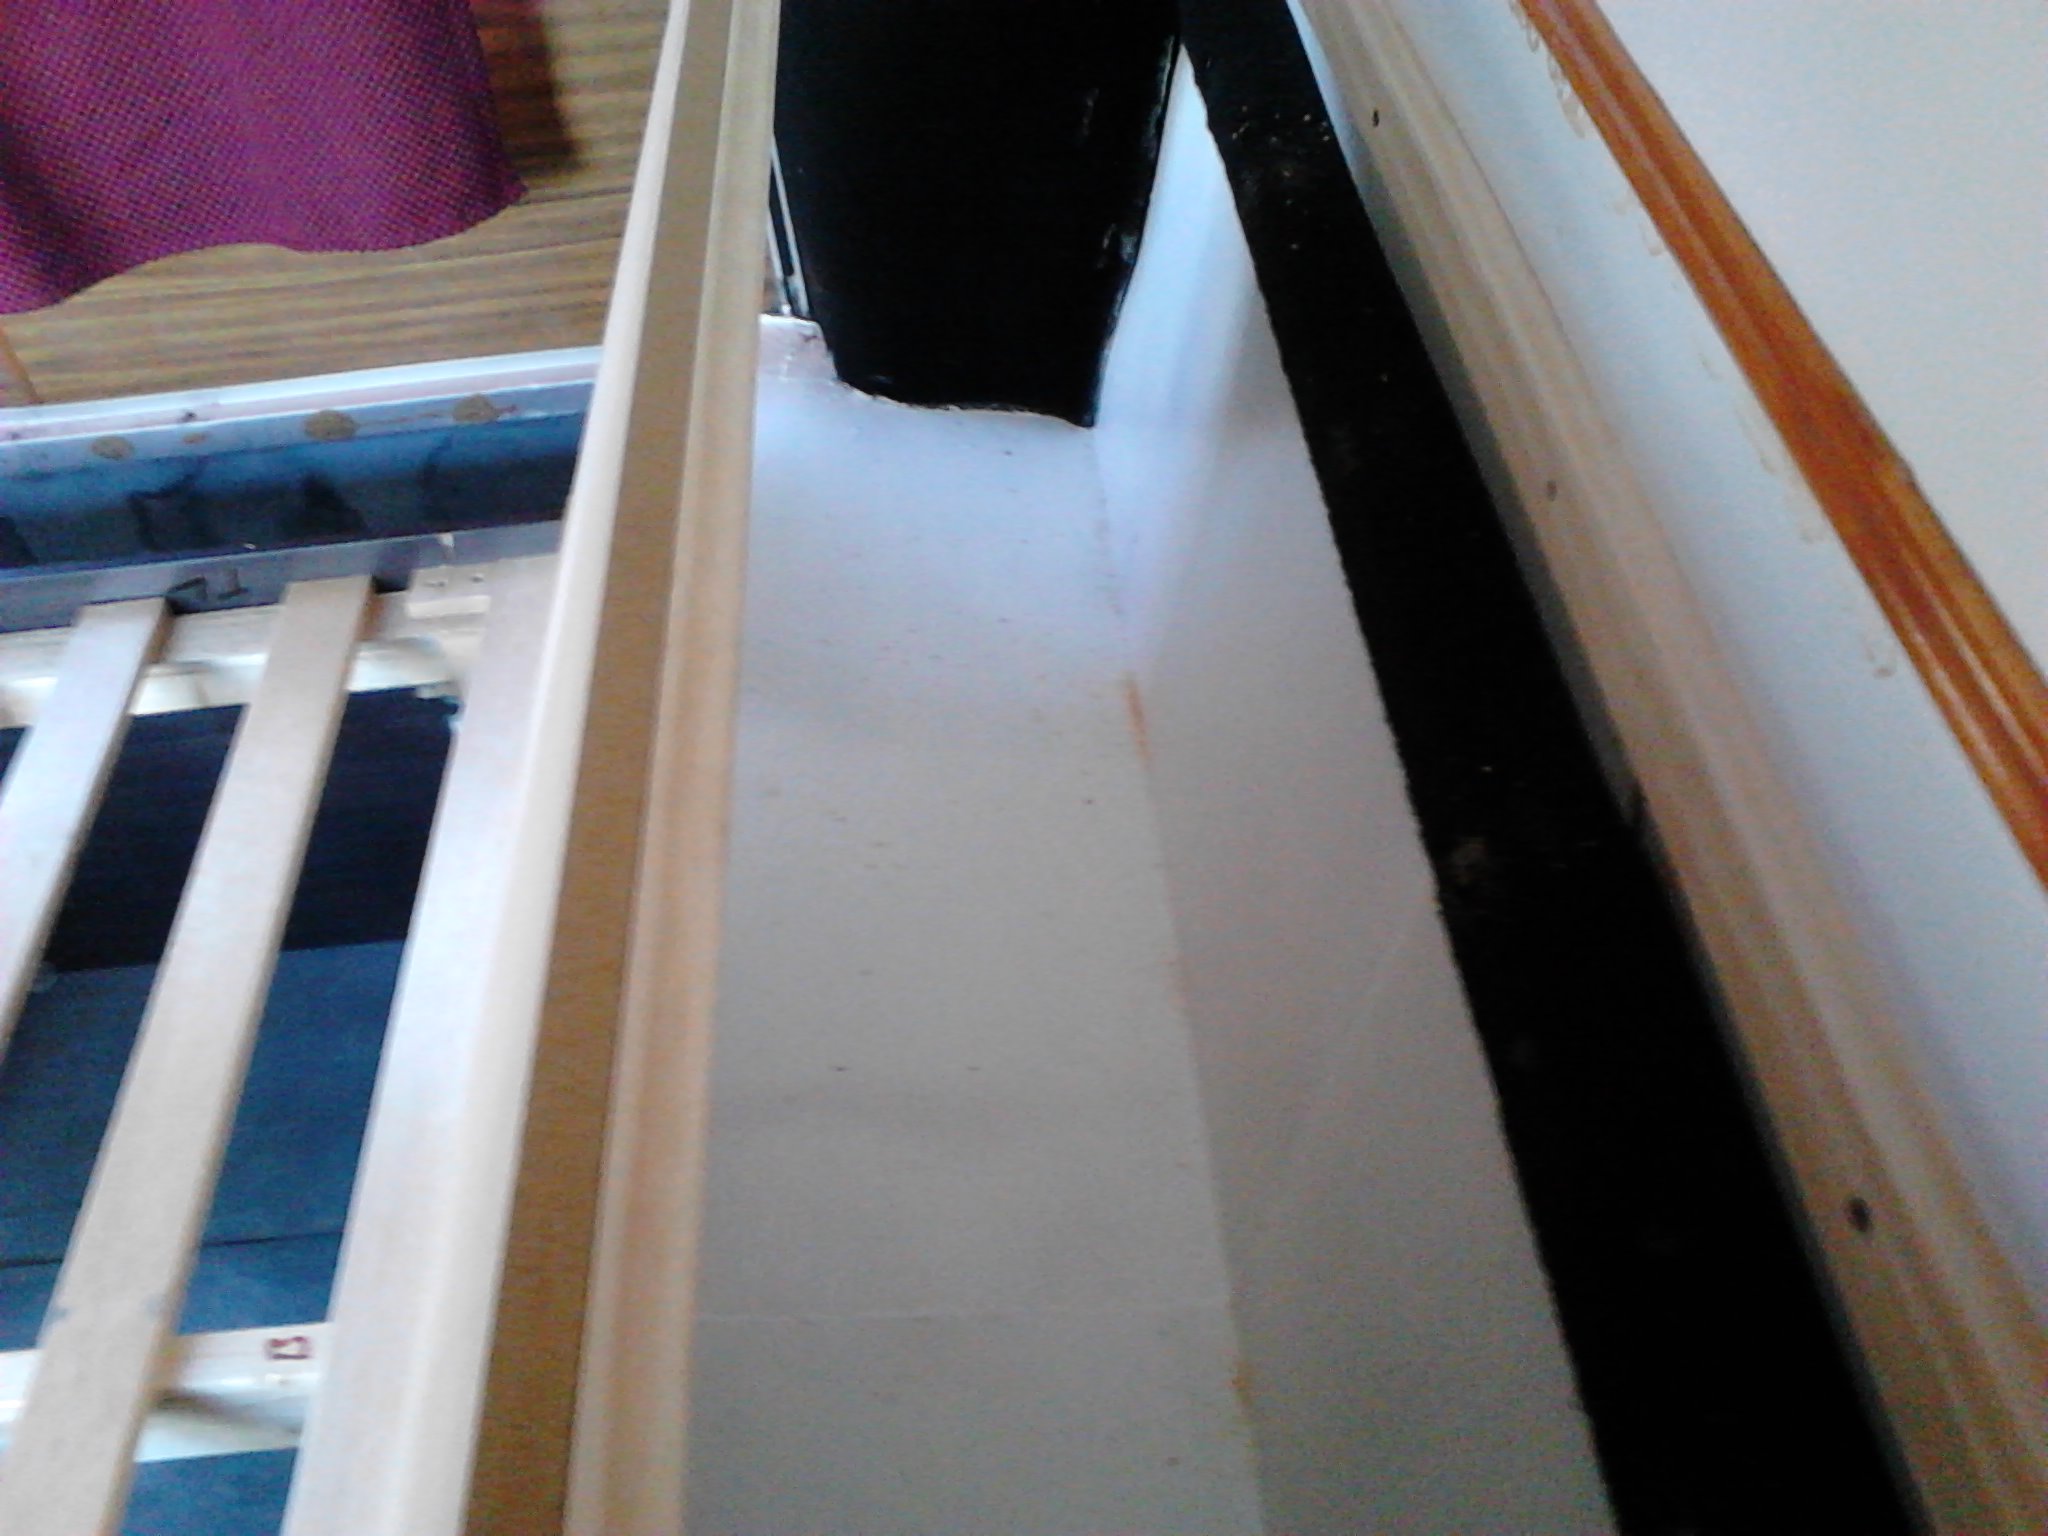
The headboard is slanted cos our bed doubles as the couch too. We have a large storage area behind the headboard that I keep spare blankets and pillows in. It’s a pain to get into because stuff ends up on top of the lid but I think a good utilization of space. In sunny Queensland I don’t often have to drag the extras out.
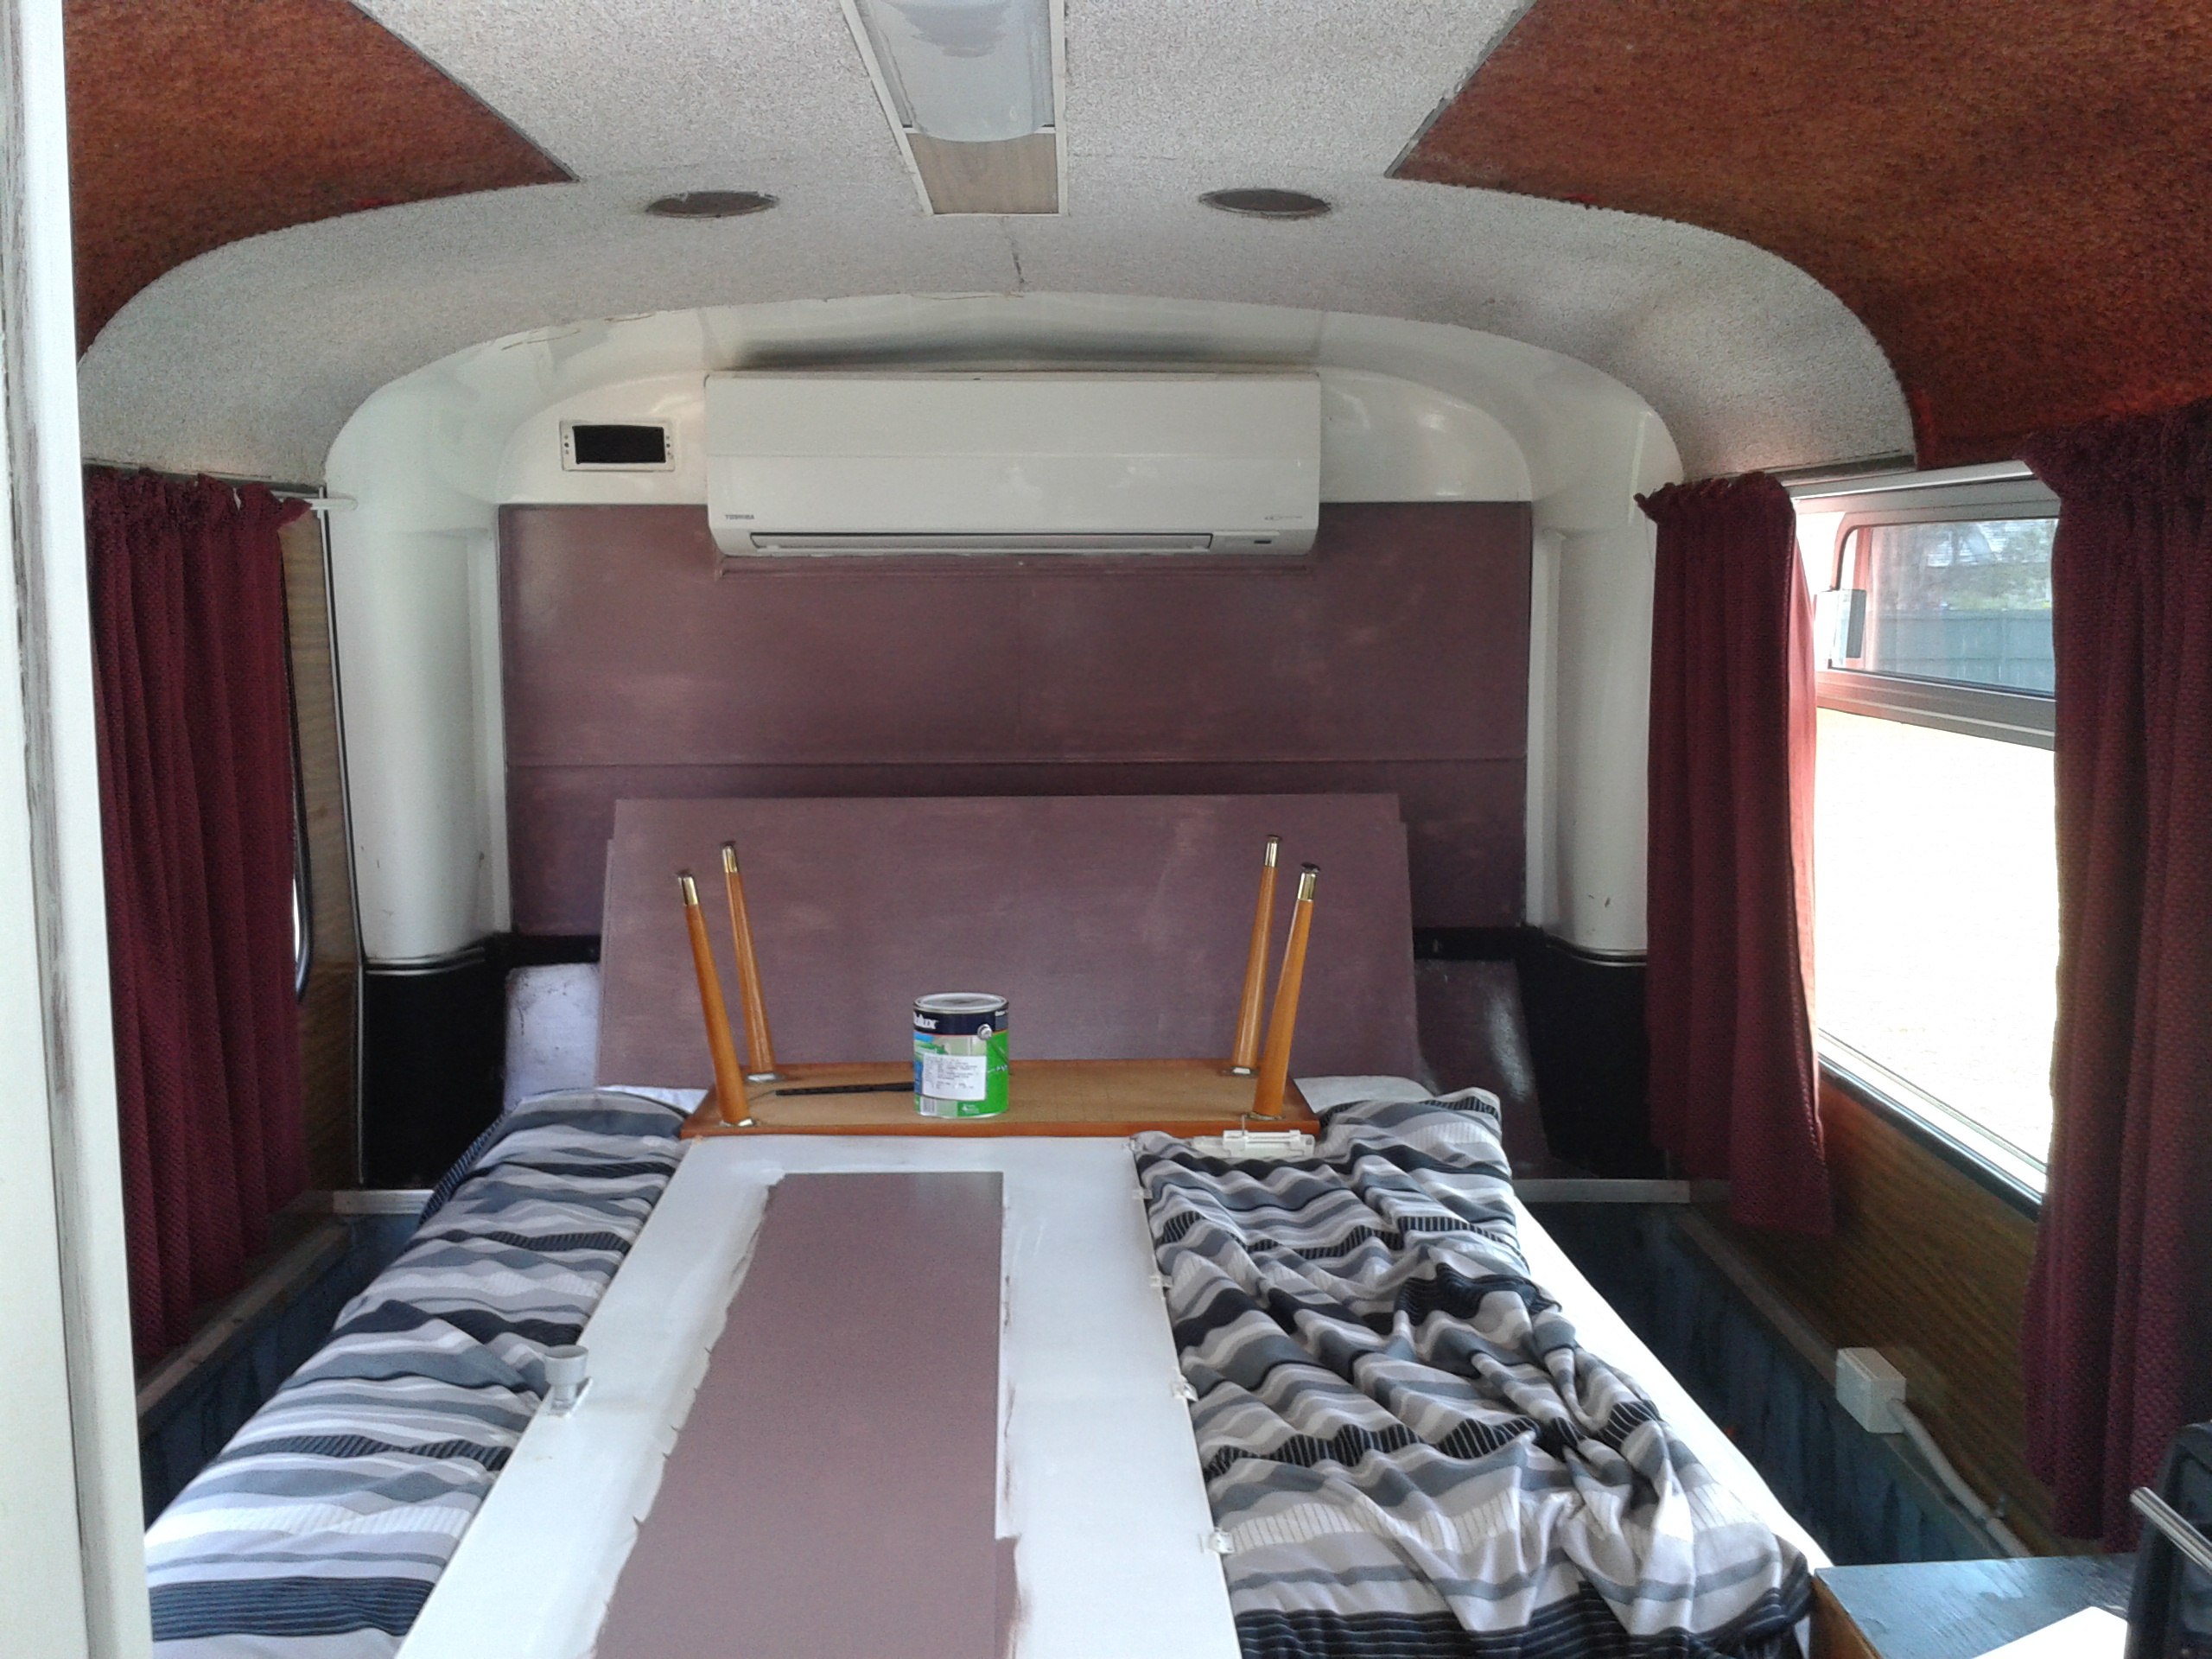
Next it was my turn to make it look nice. Time to paint. The color is Dark Wisteria. I painted the back wall and headboard, and the furniture we re-used for the bedroom too.
The headboard is also a back rest so I decided to make it more comfy. Bought a nice firm piece of foam cut to size and covered it with the same material my blinds will be made from. It is velcroed firmly onto the headboard.

Did you notice the cute little bedside tables. Imagine it all with a nice cover to match and big puffy pillows…exited!!
I have great plans for this back wall in the final reno but first I have to get rid of the Air-conditioner. It is way too big and I don’t like sleeping with it on. We will eventually get a roof mounted one down the other end of the bus. But that is a ways down on the To-Do list.


